Growing Jerusalem artichokes
Growing Jerusalem artichokes is easy and effortless.
Preparation and planting
Soil and hardiness: Jerusalem artichoke is an undemanding plant that adapts to most soils, even poor ones, with the exception of very wet ones. It is very hardy and can easily withstand Canadian winters.
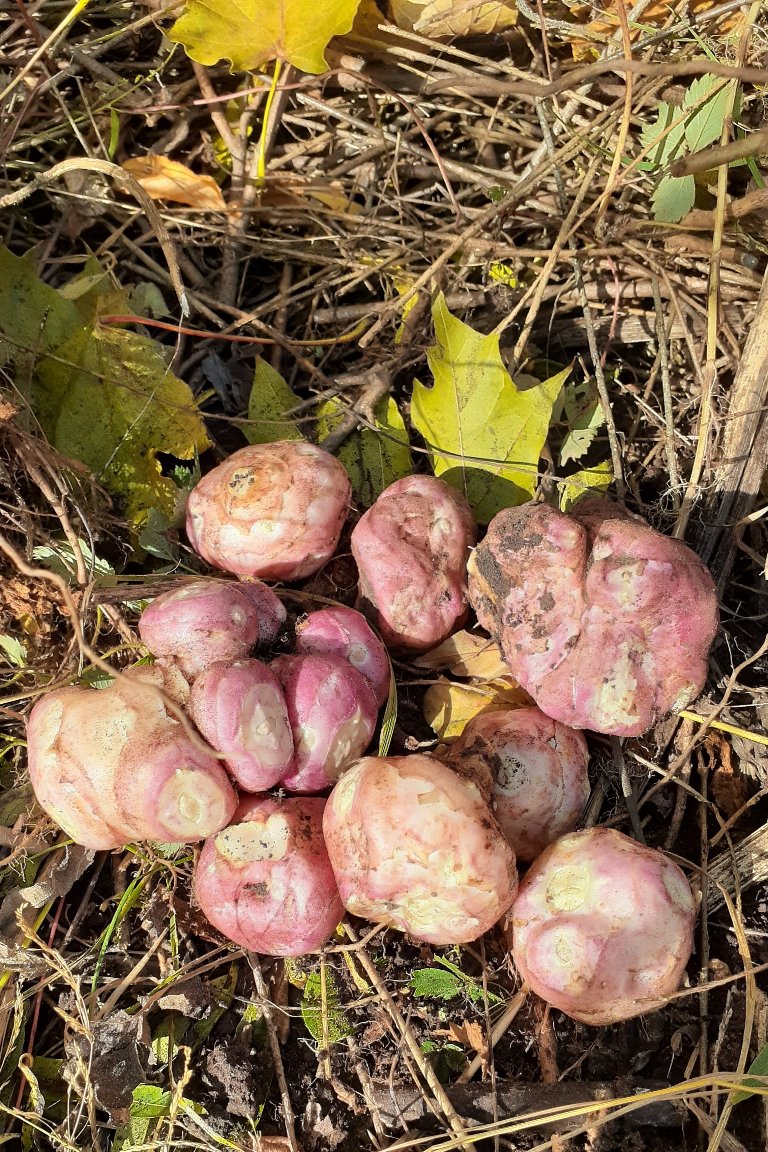
Propagation: Jerusalem artichokes are propagated by planting whole tubers.
Planting time: Planting takes place in autumn after the first frosts, or in spring when the soil can be dug.
Depth and density: Tubers should be buried 8-10 cm deep, i.e. more or less three times their diameter.
Cutting: The plant can also be cut in June by taking a cutting about 20 cm from the top of the plant and planting it in a moist, warm, semi-shaded spot.
Care
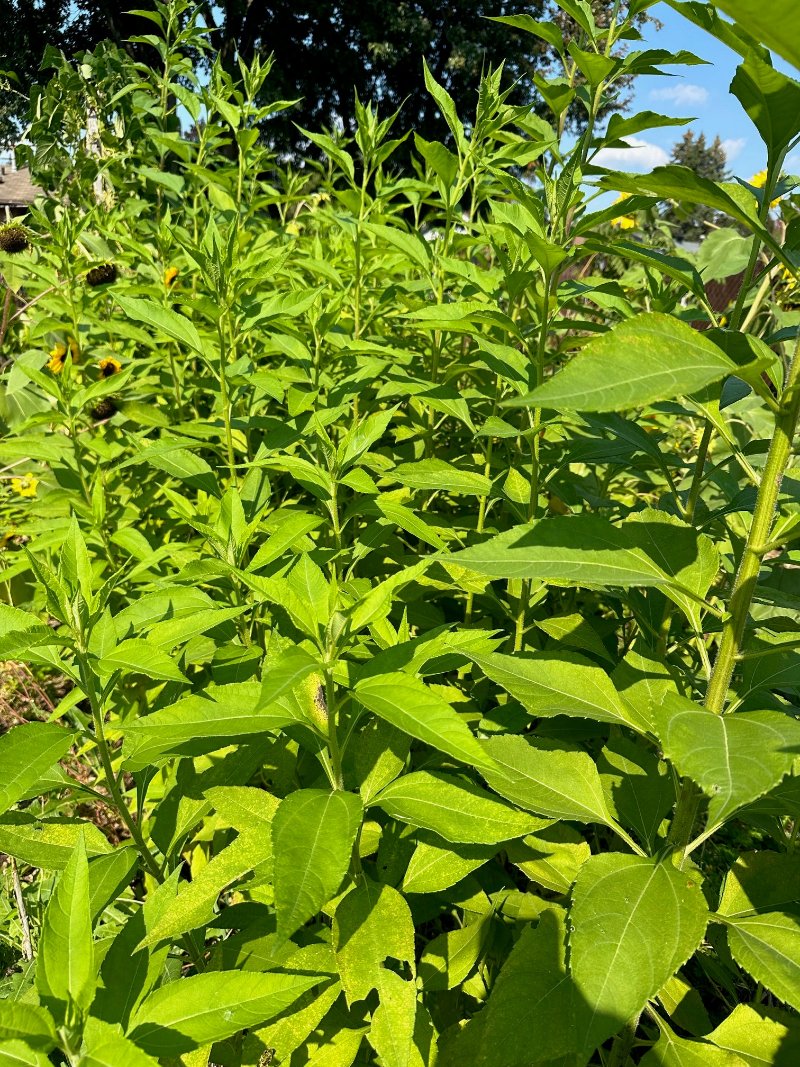
Pruning: If you're worried about the wind, you can cut the plants back to 1.50 m.
Diseases and pests: Jerusalem artichokes are not very susceptible to disease, with the exception of powdery mildew. Slugs can attack young plants and tubers. Rabbits, deer and voles can also pose a threat.
Harvesting and storage
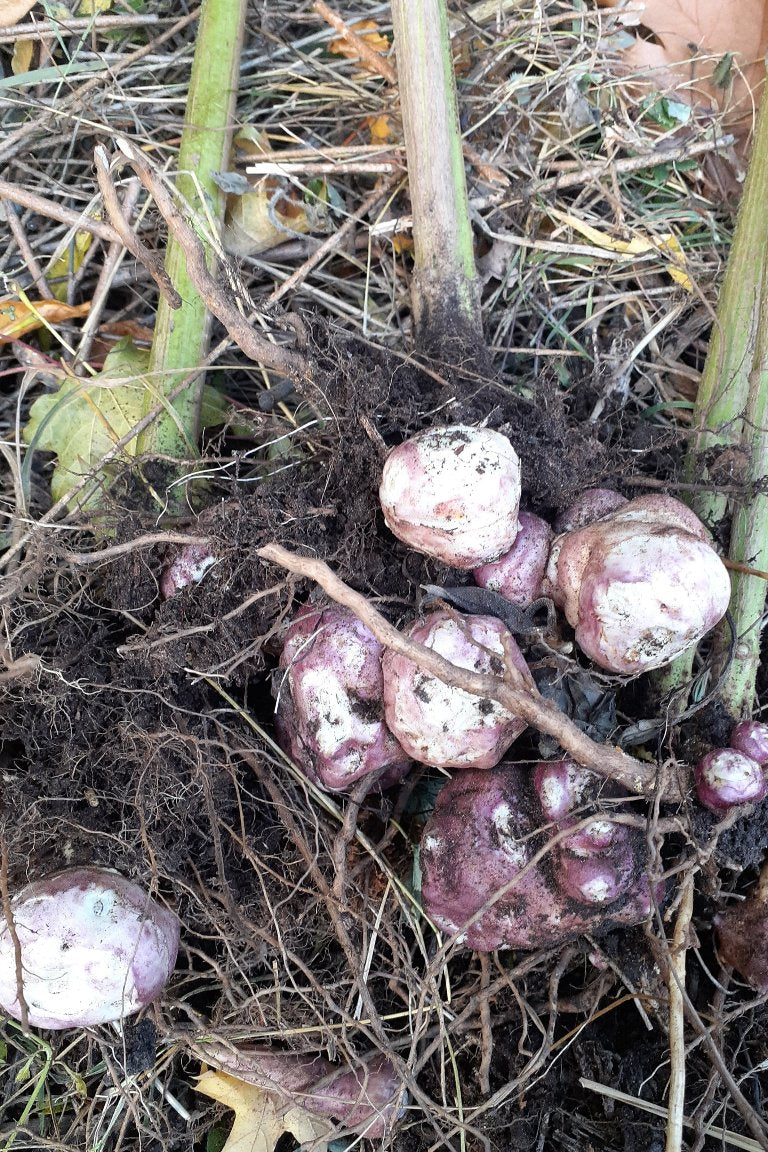
Harvesting period: Jerusalem artichokes are harvested from September to March, depending on region and need.
Continuous harvesting: Tubers should be harvested as and when needed, as they do not keep well once dug up and are sensitive to frost.
Yield: One tuber yields around 6 to 8 tubers the autumn following planting.
Stopping cultivation
Complete harvest: If you wish to stop cultivation, it's crucial to harvest all the tubers, as even a fragment can grow back the following year.Tuber exhaustion: To eliminate the remaining plants, cut them each time they appear in order to exhaust the tubers.